The measurements of the mailbox are 9”W x12.5”H x 6”D.
This is a made to order item. Please expect 5 weeks for the item to ship.
The mailbox attaches to an exterior wall by two keyhole brackets located on the back of the mailbox. These brackets are hung from two round head screws that would be drilled into your wall. Screws are included.
The wood is sealed with a clear exterior grade spar urethane finish. No stain is applied to the wood. Interior dimensions are 8.25”Wx 11”Hx 4.25” deep.
A lock can be added to the mailbox. Here is the listing for adding a lock: www.etsy.com/listing/290962273/add-a-lock
If you would like a lock, this listing should be added to your cart at check out. The listing explains how the lock works.
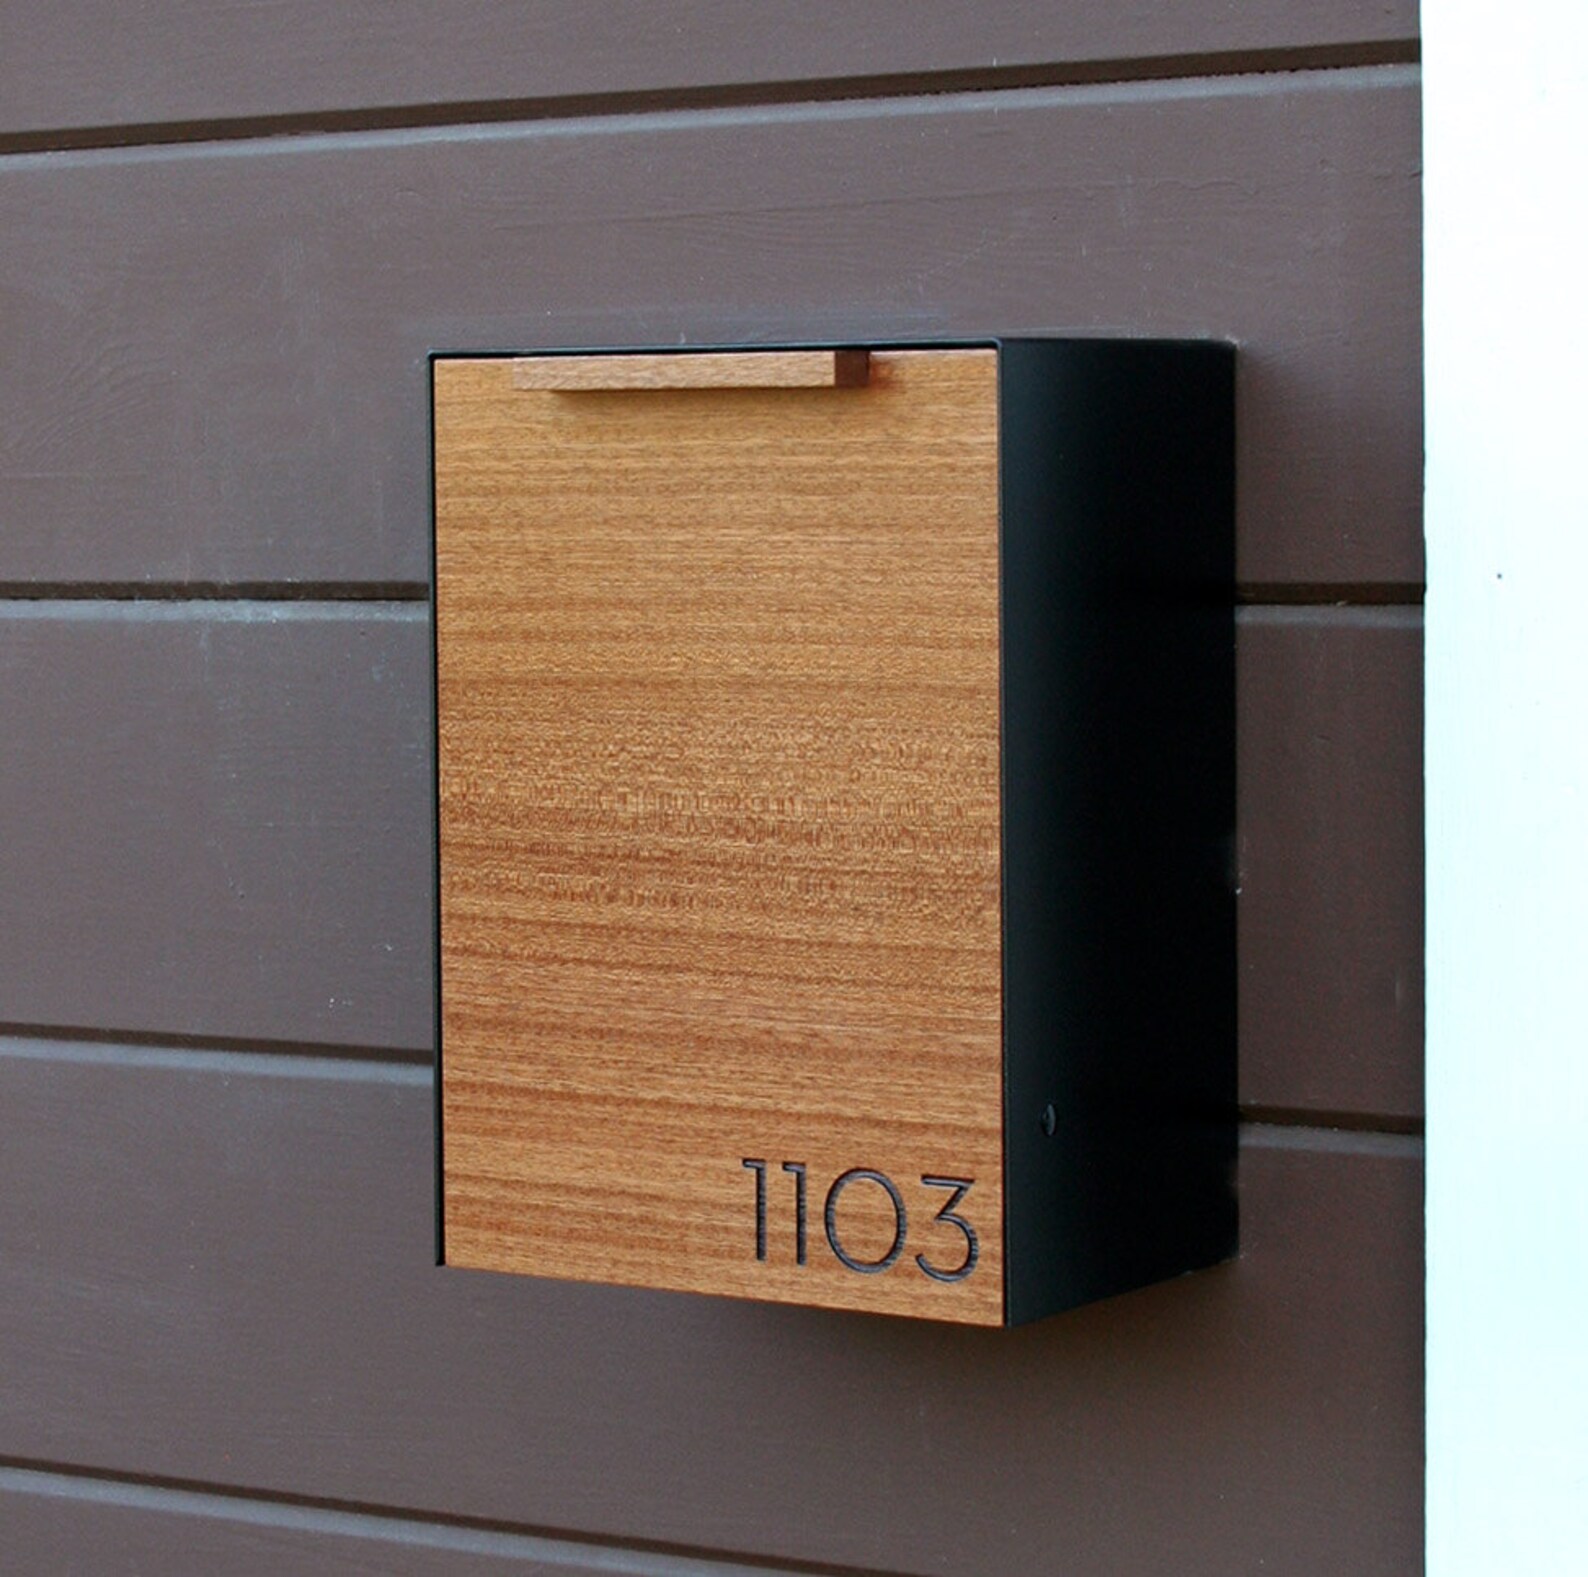
The mailbox can be laser etched with names, numbers or graphics. Etching is $20 extra. At checkout please leave a note letting me know what you would like etched. The inside of the text will be left natural in less otherwise specified with a fill color. Typically the laser burns slightly making the etching darker depending on the wood type.
The mailbox cover is available in stainless steel or powder coated galvanized steel in black, red, bronze or white.
I recommended mounting the mailbox to a wall that has shelter of some kind such as eves, porch or an overhang etc. Exposer to harsh weather is not recommended. This is because of the small opening along the top of the mailbox that could possibly leak. The bottom of the wood box is cement board for it water resistance and weight.
The image shown is not the actual mailbox that you will receive for this listing.
Kaninchen als Haustier zu haben ist ziemlich einfach, da sie sehr wenig zu essen brauchen und sich selbst pflegen können. Auf der anderen Seite können sie eine lebensfähige Fleischquelle sein, obwohl sie nicht so beliebt sind wie Hühnchen. Wenn Sie jemals daran denken, Kaninchen aufzuziehen; dann müssen Sie sich diese DIY Kaninchen Hutch Pläne und Ideen, als Ihr allererstes starten. Kaninchen brauchen nicht viel Platz. Außerdem müssen sie einige Male pro Woche frei sein, damit die Größe des Käfigs nicht wirklich wichtig ist. Anschließend müssen Sie auf ihre Sicherheit achten, wenn Sie sie aus dem Käfig lassen. Vor allem, wenn Sie zu Hause ein anderes Tier besitzen, das größer ist als Kaninchen. Lesen Sie zunächst diese grundlegende Anleitung über die richtige Gehäusegröße.
DIY Kaninchen Hutch Pläne & Ideen, die Sie lieben werden
Nachdem Sie sicher sind, dass Sie Platz und Material haben, gehen wir zu den Stall-Plänen, die Sie wählen können. Einfache Outdoor DIY Kaninchen Hutch Pläne & Ideen
.*
Dieser erste ist ein sehr einfacher Stall; Leg einfach eine Kiste auf die Beine. Die Seiten sind aus Draht, so dass Sie hineinsehen können und die Hasen sehen lassen können. Es macht auch das Füttern und Reinigen der Hütten viel einfacher. Aber wenn Sie nach schickeren Plänen suchen, können Sie dieses versuchen.
DIY Kaninchen Hutch Pläne & Ideen, die Sie lieben werdenDIY Kaninchen Hutch Pläne & Ideen, die Sie lieben werdenDIY Kaninchen Hutch Pläne & Ideen, die Sie lieben werdenDIY Kaninchen Hutch Pläne & Ideen, die Sie lieben werden
Ein dreieckiger Holzstall ist perfekt, wenn Sie Ihre Kaninchen getrennt halten möchten. Die A-Frame Struktur macht das Design einzigartig. Darüber hinaus ist es leicht zu reinigen und zu warten. Das könnte Ihnen auch besser gefallen.
DIY Kaninchen Hutch Pläne & Ideen, die Sie lieben werdenDIY Kaninchen Hutch Pläne & Ideen, die Sie lieben werden
Oder vielleicht ein solcher Stall.
DIY Kaninchen Hutch Pläne & Ideen, die Sie lieben werdenDIY Kaninchen Hutch Pläne & Ideen, die Sie lieben werden
Sie halten mehrere Kaninchen im Haus, so dass es effizienter für Sie sein kann, sie zu füttern. Darüber hinaus können Sie die anderen Outdoor Hutch Ideen sehen, die perfekt für Ihre Bedürfnisse sind.
DIY Kaninchen Hutch Pläne & Ideen, die Sie lieben werdenDIY Kaninchen Hutch Pläne & Ideen, die Sie lieben werdenDIY Kaninchen Hutch Pläne & Ideen, die Sie lieben werdenDIY Kaninchen Hutch Pläne & Ideen, die Sie lieben werdenDIY Kaninchen Hutch Pläne & Ideen, die Sie lieben werden
Indoor DIY Hutch Pläne & Ideen aus Upcycled Möbel Vor allem, wenn Sie lieber Kaninchen als Haustier haben, dann ist Indoor Stall ideal für Sie. Um einen selbst zu machen, solltest du besser sehen, ob du die alten Möbel, die du zuhause für deine Häschen hast, benutzen kannst. Alles, was Sie tun müssen, ist, Ihre Möbel in einen Stall mit Drahtfenster zu verwandeln. Es könnte von einem TV-Ständer, Schrank, Kommode, sogar ein Entertainment-Center sein.
DIY Kaninchen Hutch Pläne & Ideen, die Sie lieben werdenDIY Kaninchen Hutch Pläne & Ideen, die Sie lieben werdenDIY Kaninchen Hutch Pläne & Ideen, die Sie lieben werdenDIY Kaninchen Hutch Pläne & Ideen, die Sie lieben werdenDIY Kaninchen Hutch Pläne & Ideen, die Sie lieben werden
Genießen Sie unsere anderen Tipps hier”> verbunden
Hi guys! Just 7 weeks until I pop and I can’t wait! I can’t wait to squeeze this new little guy, and I can’t wait to not be pregnant 😉 I know lots of you relate! After sleeping in my room for the first few months, he will be sharing with his bigger brother, and I have been working on creating them a shared room. One of the things I decided to tackle for this space was his changing table. I wanted something that A) didn’t look like a changing table, and B) could double as something different down the road. So, here is what I came up with! Check out my DIY Changing Table!
How fun is that?? I love that you can remove the topper, or never add it to begin with and you have a great side or console table, or even a cute coffee bar. Before we get started be sure to check out our How-To Video on YouTube to build this changing table. You can find it HERE or click the link below!
First step is making all your cuts. One thing I chose to do is rip the rounded edges off my 2x boards. What does this do?? It gives the 2x a straight edge appearance, which I believe makes the entire piece look more polished when finished. Sometimes doing this will affect lots of dimensions when building. In this case, it will only affect your top dimensions. If you choose not to round yours, be sure not to cut the top board until you have the bottom assembled so you can decide exactly how long you want it to be. I used my Ridgid miter saw to make all my shorter cuts and I used my Ridgid table saw to rip those edges like I mentioned.
First step in assembly is making one side of this changing table. To join these boards, I used 1.5″ pocket holes and 2.5″ pocket hole screws. I used my Kreg K5 for this. You can see our HOW TO USE A KREG JIG video here!
Your two bottom horizontal runners will have pocket holes one each side like this.
Your top runner will also have them running down the length of the board, and you will use those in a later step to attach the changing table base to the top.
DIY Changing Table – Frame Assembly
Now build the frame assembly by attaching those runners to the legs. You only want to build one of the sides at this point and it should look like this…
Next, add the runners that go on each short end. These will be attached with wood glue and 1.5″ pocket hole screws. Make sure the pocket holes are facing the inside, and these will line up flush with the edge of the legs.Attach the next two legs at this point. These will also attach with wood glue and pocket hole screws through the pocket holes on the runners and into the legs.
After attaching these, add the 1×6 plank pieces. These will attach with wood glue and nails to the inside of the runners attaching the side assembly to the second set of legs. ** I made a booboo here that I didn’t get to photograph. I call for 3/4″ pocket holes at the top of each of these 6 planks. I forgot to add them and had to go back with my R3 and add them and it was a pain in the booty. Be sure to make the pocket holes and then attach the planks. I have shown that in the plans. Thanks**
Once both sides are planked, you are ready to add the shelf boards. I used 3/4″ Purebond Plywood in Birch for mine. I always have the guys at Home Depot rip it down to the right width or about an inch more, and then I make the smaller cuts on my table and miter saw at home. I added 3/4″ pocket holes around the bottom of both shelf boards. I will use these to attach the boards to the runners. I used my Kreg Foremanfor this part, but you can use any model Kreg Jig you have! The Foreman is one of my fav time savers and is basically a Kreg Jig on steroids 🙂
It might be helpful to use a mallet to get these shelves perfectly into place. I use mine a lot, and Ash and I like to think when you have to use one that it’s a good sign of a great cut 😉 I used 1.25″ pocket hole screws to attach both shelves through the bottom of the shelf and into the runners and planks. You want these shelves to line up flush with the top of the runners on both.
DIY Changing Table – Time for runners
Both shelves done… Ready to add the next runners!
Be sure to add glue in between joints before adding the runners to help hold everything in place.Also, once you have attached the runners to the legs, attach the shelf to that runner through the pocket holes on the bottom.
Now onto the side trim. This will give it that farmhouse look! Use wood glue and 1.25″ brad or finish nails to attach the trim once you have cut it to size.
The top of the changing table is made from a pine project panel. These come in different sizes at the hardware store. I cut mine to size and sanded down the edges really good.Now flip the entire table base upside down on the top and line it up on the project panel. Attach the base to the top using 1.25″ pocket hole screws through the holes on both the side planks and the long runners.
DIY Changing Table – the topper
You can stop here at this point if you plan to use this as a console or different kind of table. If you plan to make use it as a changing table, make the cuts for the topper. Those are 45 degree angles at each corner.
I added two 3/4″ pocket holes to each long board and attached the changing table topper frame to the top of the table with 1.25″ pocket hole screws. I know this will leave screw holes in the future when I do remove the topper, but I will just fill those, as I see this as the safest way to attach it. All finished!
Here is the changing table pad I bought on Amazon as well as the cover!The baskets are a perfect fit and a great find from The Container Store.